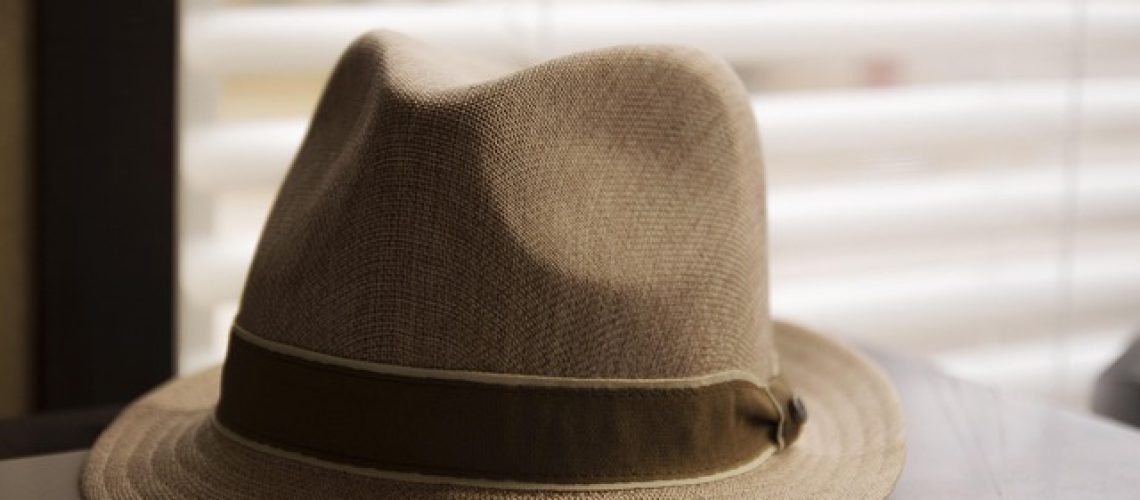
How to Make Fedora Hat: 7 Essential Steps for a Stylish DIY Headwear

Fedora hat has always been a timeless symbol of style, class, and sophistication. Whether you’re a fashion enthusiast, a hobbyist in DIY fashion, or simply curious, learning how to make fedora hat can be a rewarding experience. In this article, we’ll walk you through the complete process in 7 detailed steps to help you craft your own fedora hat from scratch.
1. Understand the Structure of a Fedora Hat
Before diving into the process, it’s essential to understand the anatomy of a fedora hat. A typical fedora hat consists of:
-
Crown: The top part that fits over the head, often creased down the center with pinched sides.
-
Brim: The extended edge around the base of the crown, typically 2–3 inches wide.
-
Hatband: A decorative band circling the base of the crown.
Understanding these elements ensures that when you make fedora hat, you’re not just crafting a random hat, but a structured, stylish accessory.
2. Choose the Right Materials
The choice of material significantly affects the shape, durability, and appearance of your fedora. Common options include:
-
Fur Felt: The traditional and most luxurious material for making fedoras.
-
Wool Felt: Affordable and easier to source, great for beginners.
-
Straw: For lightweight, summer-style fedoras.
To successfully make fedora hat, ensure your materials are moldable and suitable for blocking (shaping with heat and steam).
3. Prepare Your Hat Block
A hat block is a wooden or plastic mold used to shape the crown. This step is critical to achieve the signature fedora look.
-
Choose a hat block size that fits your head.
-
Secure the felt over the block using a steamer to soften it.
-
Pull the felt evenly over the block and pin it tightly.
This process may take several hours, including drying time, but it’s fundamental if you want to make fedora hat that holds its shape.
4. Shape the Crown with Steam and Hands
Once the felt is dried on the block, you can begin shaping the crown.
-
Use a steam iron or hat steamer to gently soften the crown again.
-
Create the center crease by pressing your fingers down the middle.
-
Pinch the front sides to form the classic fedora shape.
This hands-on approach ensures every hat you make has a personal, custom touch. A steady hand and patience are key when you make fedora hat that stands out.
5. Trim and Shape the Brim
The brim determines much of the hat’s style and function. Here’s how to get it right:
-
Measure and mark the desired brim width using tailor’s chalk.
-
Cut the excess felt cleanly using a sharp blade or scissors.
-
Steam and shape the brim: you can snap it down in front and up in the back, as is traditional for fedoras.
When you make fedora hat, spend time perfecting the brim—it’s the most visible and character-defining part.
6. Add the Hatband and Finishing Touches
A hatband adds style and covers the seam between the crown and brim.
-
Choose a ribbon, leather strip, or fabric that complements your material.
-
Attach it with fabric glue or stitch it gently by hand.
-
Optional: Add feather details, branding, or personal initials.
This final step elevates the look and gives you full creative freedom. When you make fedora hat for yourself or as a gift, custom details go a long way.
7. Let It Set and Store Properly
After shaping and decorating, allow your fedora to dry completely—ideally overnight. Once set:
-
Store it on a hat stand or upside-down on the crown to preserve the brim.
-
Avoid moisture or crushing to maintain shape.
Caring for your hat properly ensures that all your efforts to make fedora hat don’t go to waste over time.
Final Thoughts
To make fedora hat requires patience, precision, and an appreciation for classic style. While it might seem complex at first, the process becomes deeply satisfying as you see your own handcrafted piece take shape. With the right tools, materials, and a bit of practice, anyone can learn to make fedora hat that rivals store-bought versions—only with more character and personal flair.